Basics of Image Processing
We recommend that you go through this tutorial before navigating this website! You'll thank us later.
Pixel Array
There are a few programming languages that provide us with a list containing all the pixels displayed on the screen. In p5.js, this list is a flat array with the RGBA values of every pixel on the canvas. Since each pixel is described with four pieces of information, it takes up four slots on the Pixel Array.
pixels = [p1, p1, p1, p1, p2, p2, p2, p2, p3, p3, p3, p3, ...]
Those pieces of information correspond to the pixel's rgba values (red, green, blue & alpha), which range from 0 to 255.
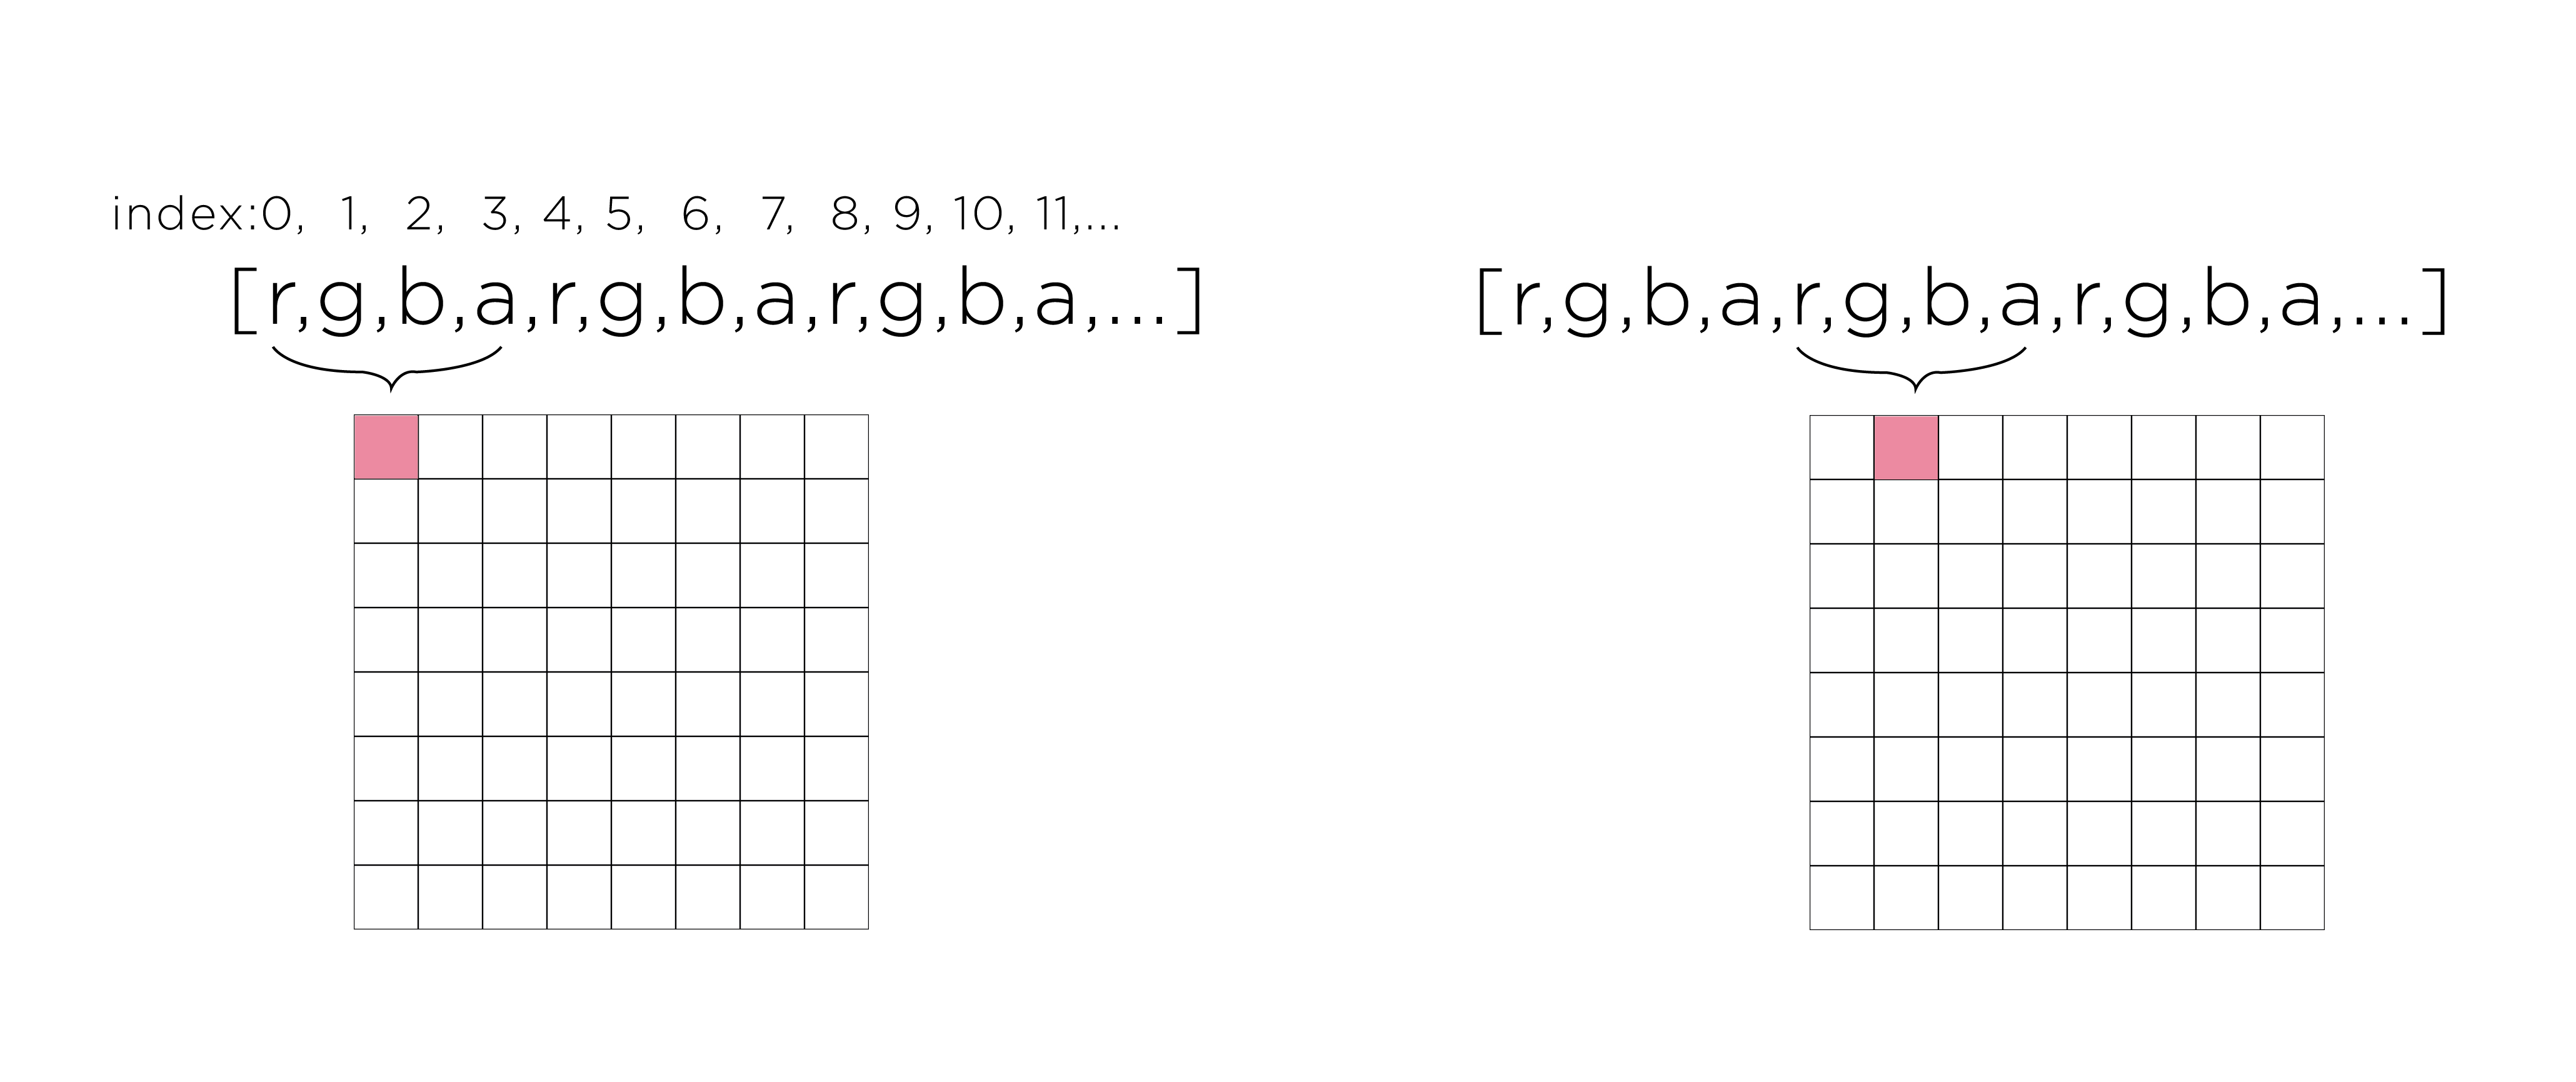
That means if the first pixel on the screen (upper left) is black and the second pixel (its right neighbor) is white, this is how they would be displayed on the Pixel Array:
pixels = [0, 0, 0, 255, 255, 255, 255, 255, ...]
Pixel Density
If your computer is relatively new, chances are it has a screen that compacts a punch of pixels into one, generating higher definition. In order for our code to work, we need a more rudimentary setup. In order to do that, in your function setup(), insert:
pixelDensity(1);
    function setup(){
        createCanvas(320,240);
        pixelDensity(1);
    }
This will make sure your canvas will only display one pixel per pixel. Back to the old roots.
Loading Pixels
The first step to acess the Pixel Array on your p5.js sketch, is to upload it. To get a Pixel Array for your entire canvas, in the beginning of your function draw(), insert:
If you don't want to mess with your whole canvas, just an image, insert:
img.loadPixels();
(img == variable name of your image)
[ATTENTION:] pixels (or img.pixels) is the name p5.js gave to our Pixel Array! You'll need to remember this later.
Double For Loop
If you are looking to manipulate your whole canvas, you are going to need a double for loop going through every column and every row of your screen. Our goal is to go thourgh the first row (x by x), move one y down, go through every x again, and move one y down again, and... you get the idea.
    function setup(){
        createCanvas(320,240);
        pixelDensity(1);
    }

    function draw(){
        background(255);
        loadPixels();
        for(var y = 0; y < height; y++) {
            for(var x = 0; x < width; x++){

            }
        }
    }
We are increasing x, but at a particular y level. That means our y's will be our outer for loop, and our x's are our inner loop.
Indexing
Navigating through every pixel on the screen is hard enough, but navigating though every RGBA value of every pixel is even harder. To make your life easier, navigate through your Pixel Array 4 by 4 (since each pixel takes up 4 slots).
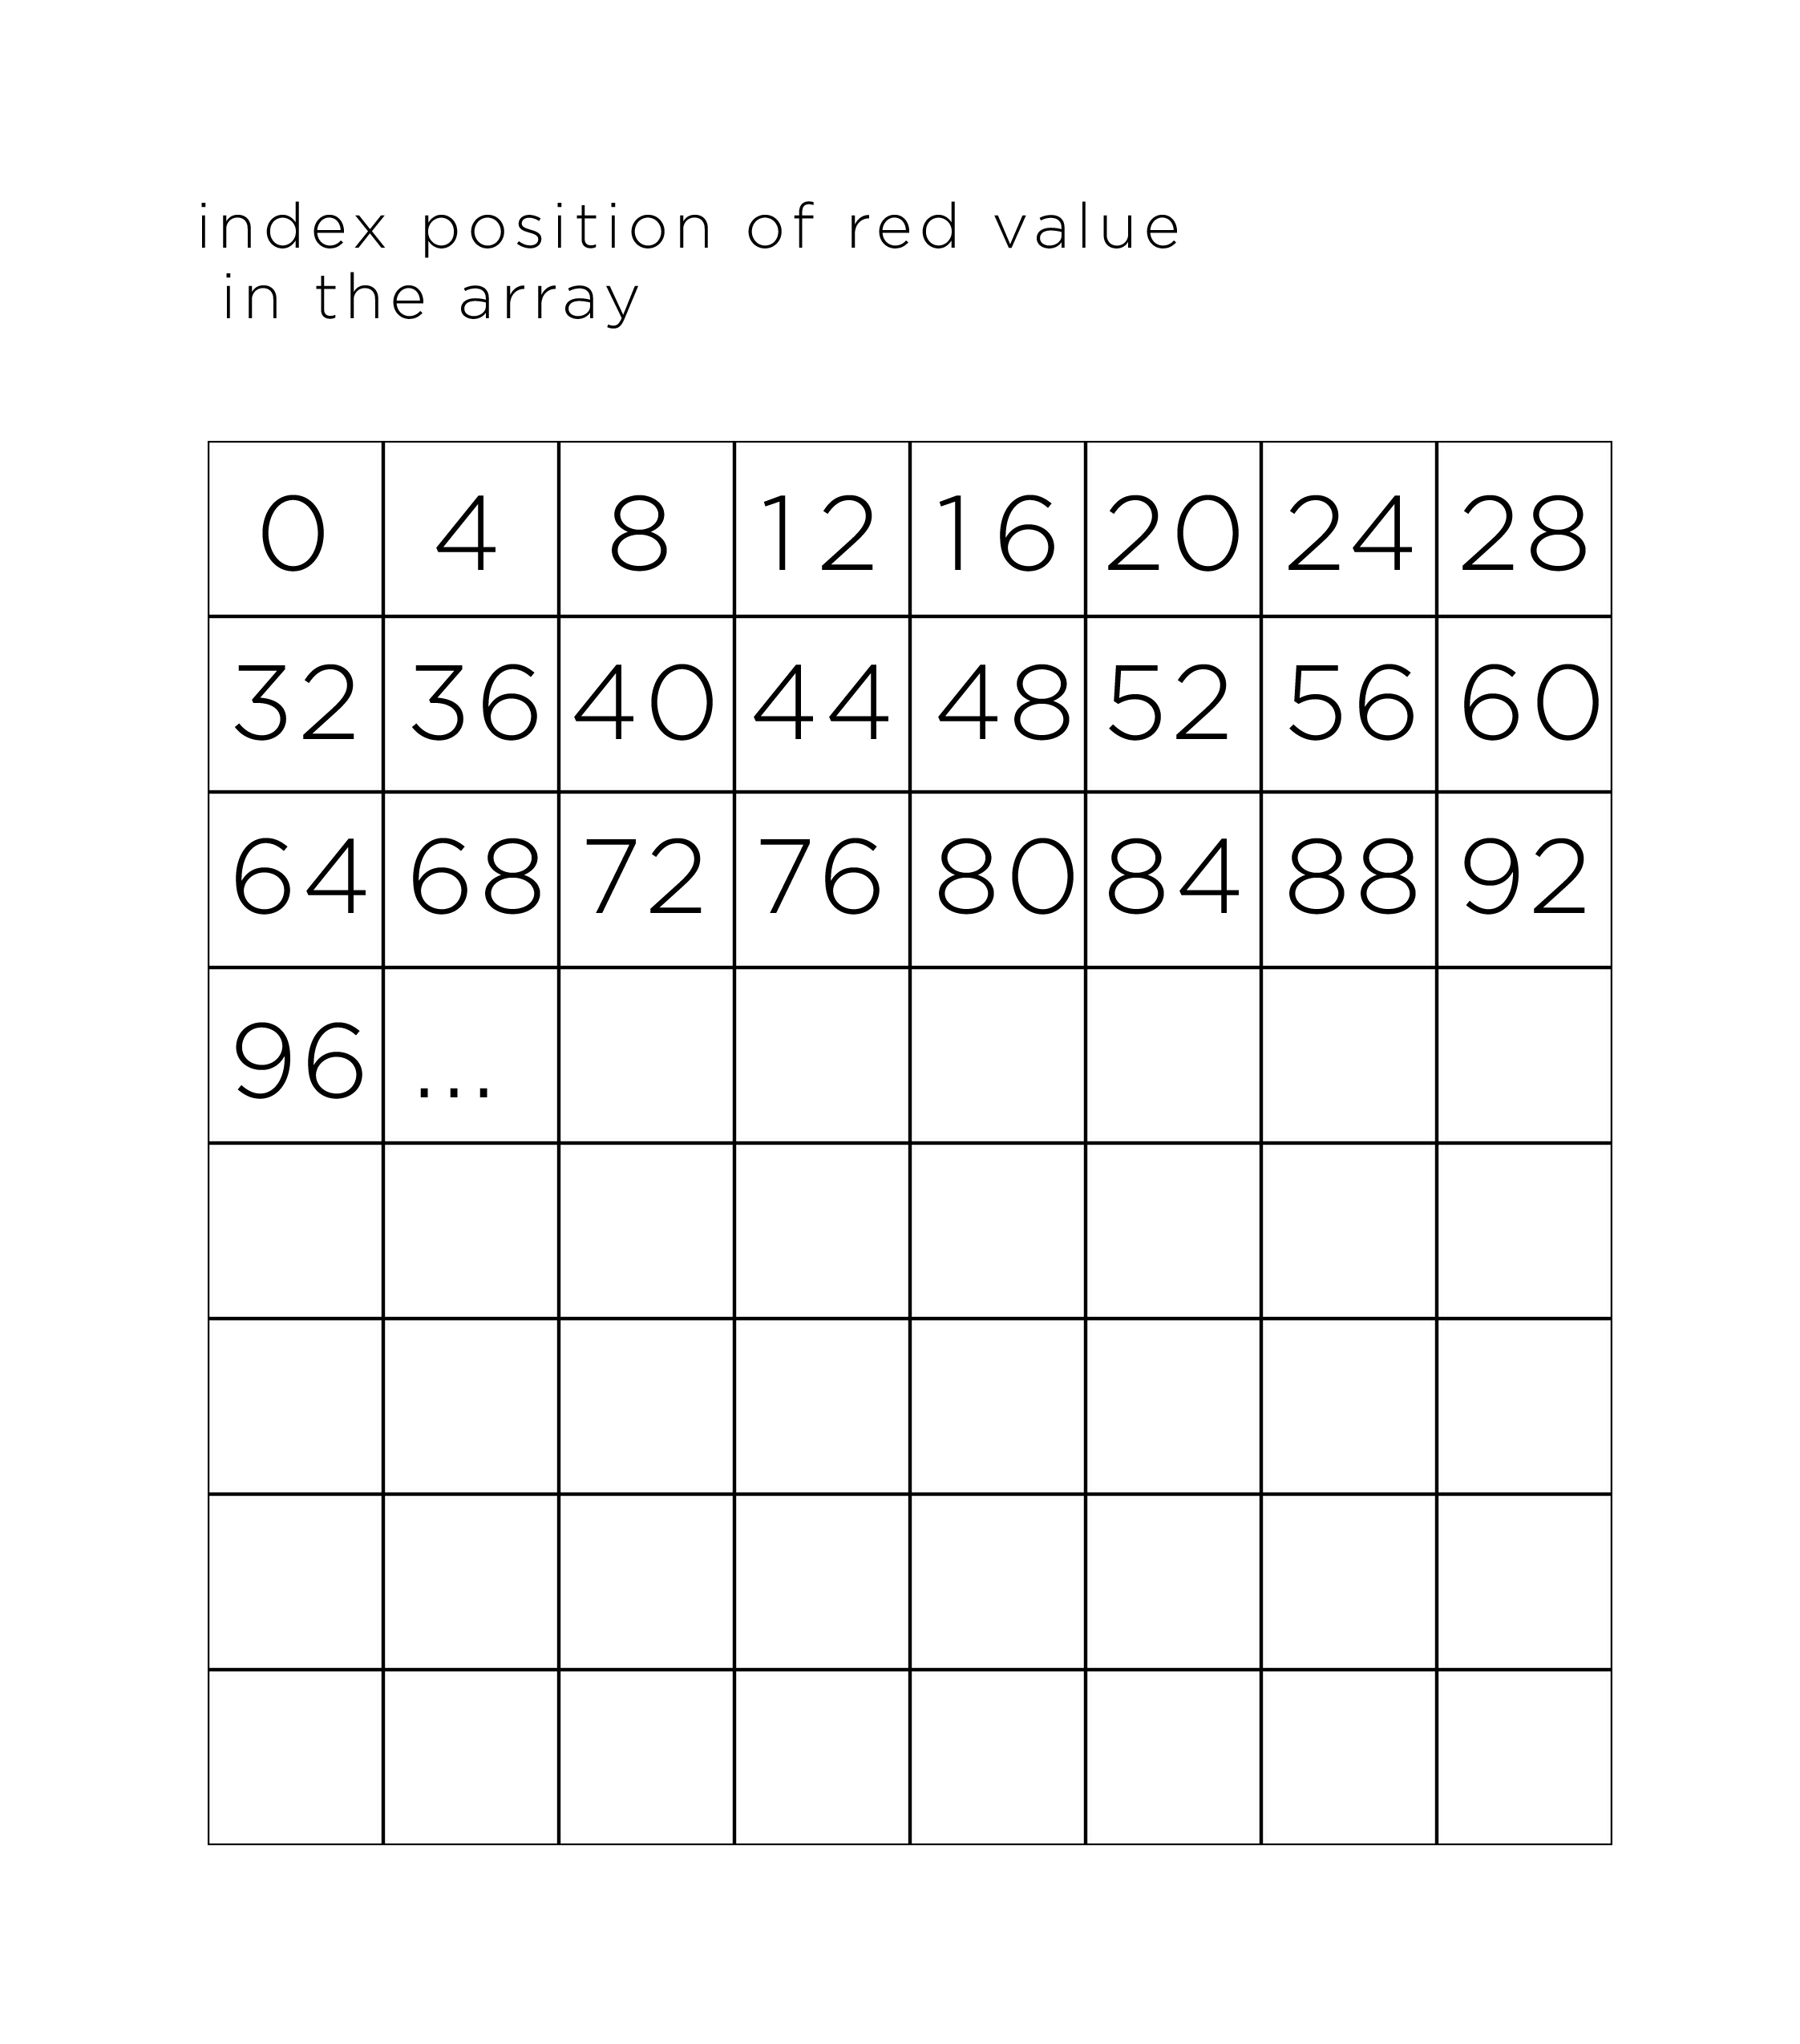
To do that, inside your for loop initiate an index varible which will be the r value (first value) of each pixel. How do we get the index of the red value of a pixel form it's X/Y coordinates?
The index positon of the red value is 4 times the number of pixels that are in front of it.
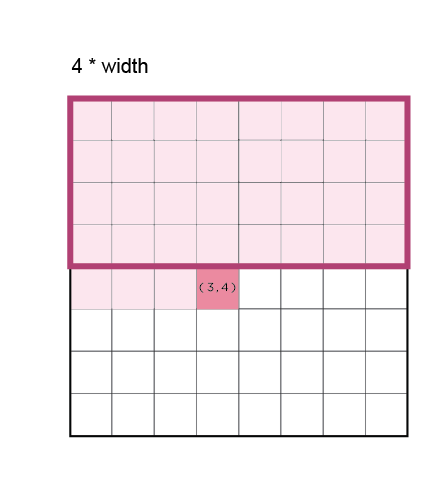
var index = (x + y * width)*4;
Since our index varible corresponds to r(ed) and it moves 4 by 4, index+1 is g(reen), index+2 is b(lue), and index+3 is a(lpha).
red = pixels[index+0];
green = pixels[index+1];
blue = pixels[index+2];
alpha = pixels[index+3];
Your for loop should look like this so far:
    function draw() {
      background(51);

      loadPixels();
      for (var y = 0; y < height; y++) {
        for (var x = 0; x < width; x++) {
          var index = (x + y * width)*4;
          pixels[index+0] = ?;
          pixels[index+1] = ?;
          pixels[index+2] = ?;
          pixels[index+3] = ?;
        }
      }
    }
Use img.pixels[ ] if you used an image instead of your canvas
Cool, awesome, great! That's your mise en place for playing with pixels. Now all you have to do is write your recipe and let the program follow it!
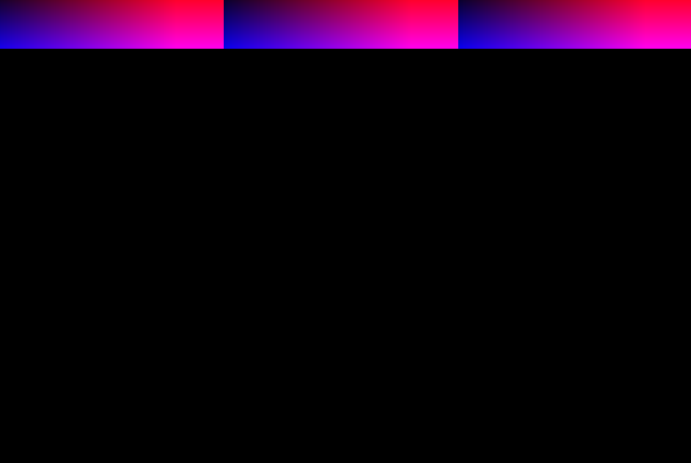
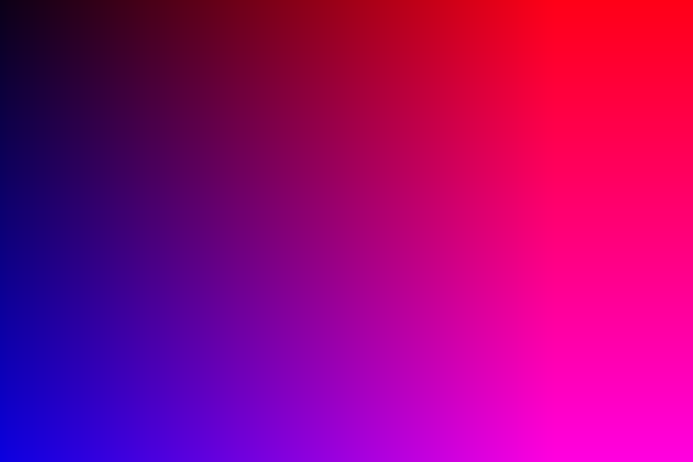
The recipe we'll be sharing with you today is how to make a noisy rainbow gradient out of your canvas.
- Set every red value to it's x position.
- Set every green value to a random number between 0 and 255.
- Set every blue value to it's y position.
- Set every alpha to 255
Your code should look like this:
    function draw() {
      background(51);

      loadPixels();
      for (var y = 0; y < height; y++) {
        for (var x = 0; x < width; x++) {
          var index = (x + y * width)*4;
          pixels[index+0] = x;
          pixels[index+1] = random(255);
          pixels[index+2] = y;
          pixels[index+3] = 255;
        }
      }
    }
Use img.pixels instead if you used an image instead of your canvas
Update Pixels
Almost done! Since you manipulated your Pixel Array, you need to update it so that your canvas can display it to you. Right before the end of the scope of your function draw(), insert this:
updatePixels();
    function draw() {
      background(51);

      loadPixels();
      for (var y = 0; y < height; y++) {
        for (var x = 0; x < width; x++) {
          var index = (x + y * width)*4;
          pixels[index+0] = x;
          pixels[index+1] = random(255);
          pixels[index+2] = y;
          pixels[index+3] = 255;
        }
      }
      updatePixels();
    }
or img.updatePixels(); in case you used an image instead of your canvas